How to Screenshot on a Gateway Laptop: A Step-by-Step Guide
Capturing your screen is an essential skill in today’s digital age. Whether you’re sharing a funny meme, saving important information, or troubleshooting tech issues, knowing how to take a screenshot can be incredibly useful. If you’re a proud owner of a Gateway laptop, you’re in luck! In this comprehensive guide, we’ll walk you through the process of taking screenshots on your Gateway laptop, step by step.
Understanding Your Gateway Laptop
Before we start learning about taking screenshots, let’s get to know your Gateway laptop first. Gateway laptops use Windows, which has different ways to take pictures of your screen. The most common methods include using keyboard shortcuts or built-in software.
Method 1: Using Keyboard Shortcuts
Step 1: Locate the “PrtScn” Key
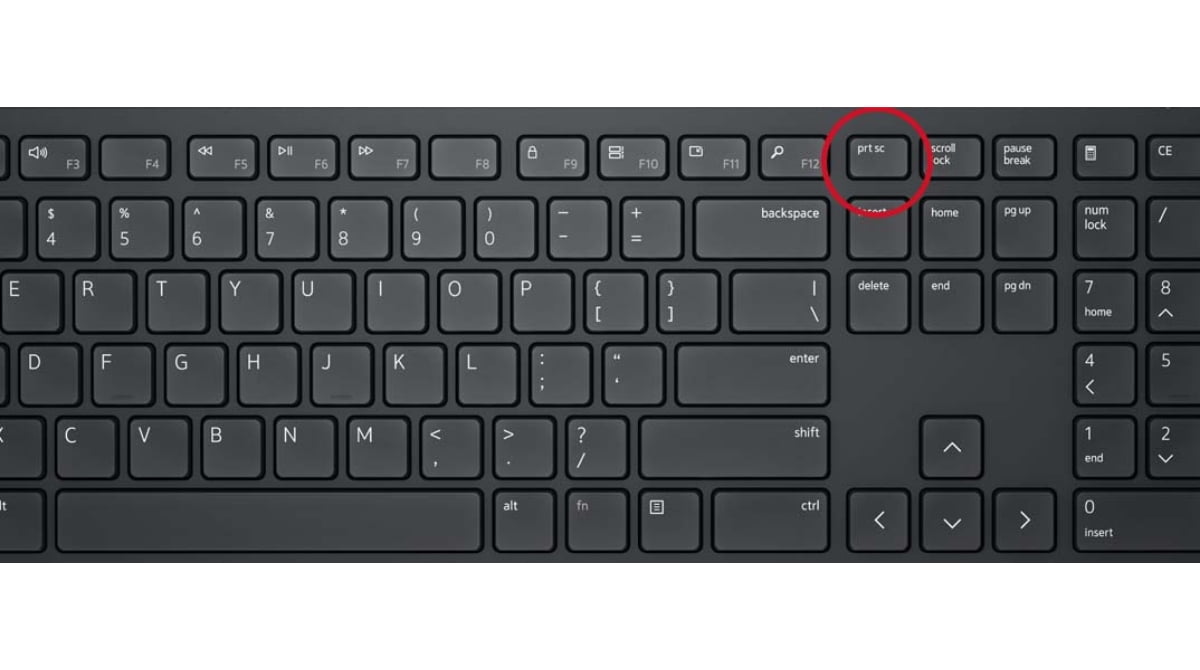
The “PrtScn” (Print Screen) key is your gateway to screenshotting on a Gateway laptop. You’ll typically find this key located in the upper-right corner of your keyboard.
Step 2: Capture the Entire Screen
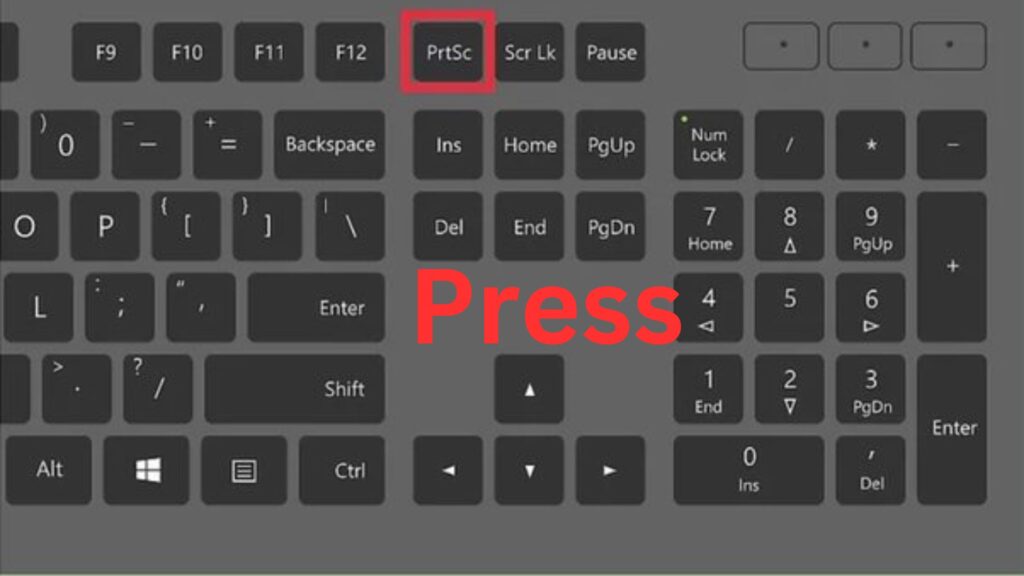
To capture the entire screen, simply press the PrtScn key. Your screen will dim momentarily, indicating that the screenshot has been successfully taken.
Step 3: Save the Screenshot
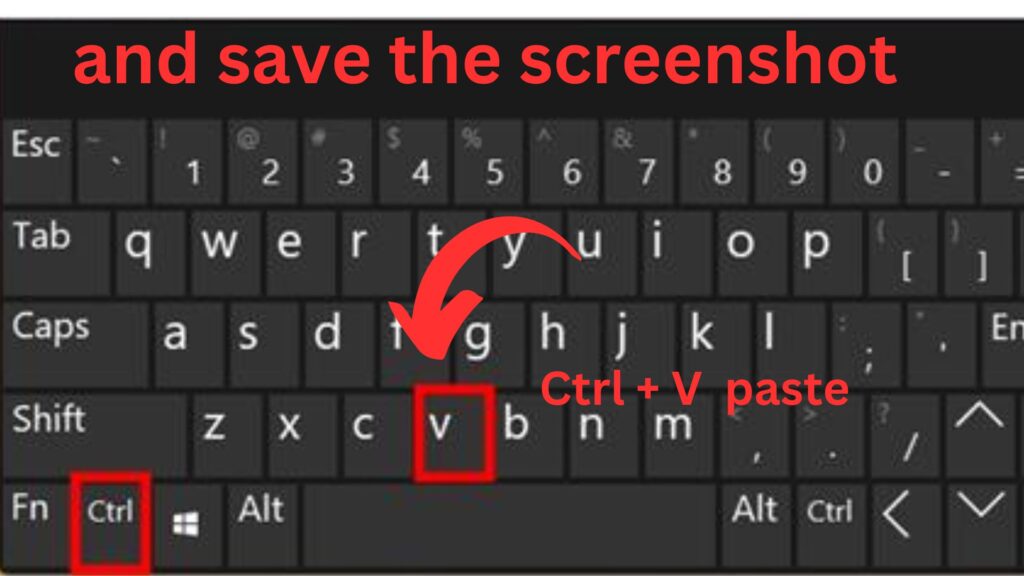
Once you’ve captured the screenshot, you’ll need to save it. Open your preferred image editing software, such as Paint or Photoshop, and paste the screenshot using the Ctrl + V keyboard shortcut. You can then save the image to your desired location.
Step 4: Capture a Specific Window
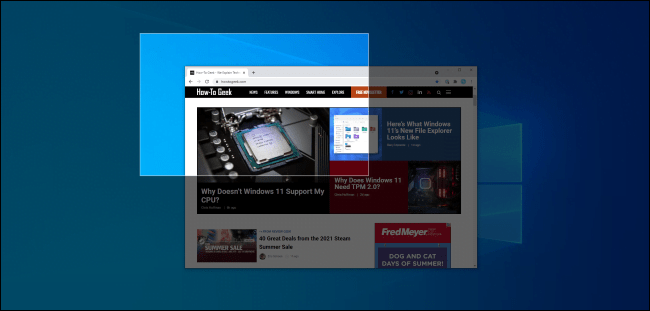
If you only want to capture a specific window, such as a browser window or application, use the Alt + PrtScn keyboard shortcut instead. This will capture the active window and copy it to the clipboard.
Step 5: Paste and Save

Similarly, paste the screenshot into your image editing software and save it as desired.
Method 2: Using Snipping Tool
Windows also provides a built-in tool called the Snipping Tool, which offers more flexibility in capturing screenshots.
Step 1: Open the Snipping Tool
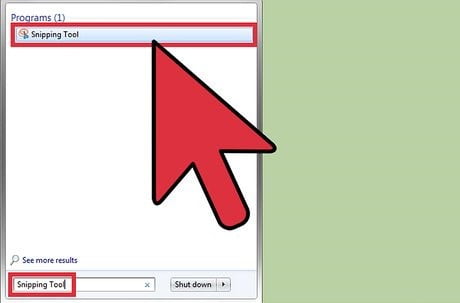
To access the Snipping Tool, simply type “Snipping Tool” into the Windows search bar and open the application.
Step 2: Select the Screenshot Mode

Once the Snipping Tool is open, click on “New” to initiate the screenshot process. You can choose from various snip modes, including Free-form, Rectangular, Window, and Full-screen.
Step 3: Capture the Screenshot
Select the desired snip mode and use your mouse to capture the area you want to screenshot. Once captured, the screenshot will appear in the Snipping Tool window.
Step 4: Save the Screenshot
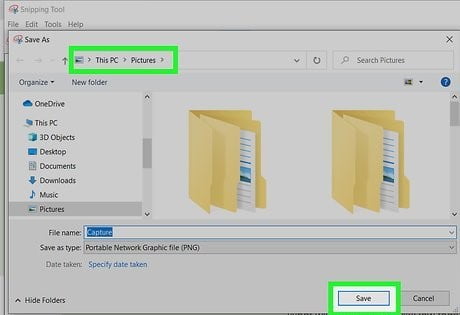
Finally, click on “File” and select “Save As” to save the screenshot to your preferred location.
Method 3: Using Windows Key + Print Screen
For a quick and hassle-free way to capture the entire screen, you can use the Windows key + PrtScn keyboard shortcut.
Step 1: Press the Keyboard Shortcut
Just press the Windows key + PrtScn at the same time. Your screen will get a little darker for a moment. That means your screenshot is Taken.
Step 2: Access the Screenshot
When you use the Windows key + PrtScn together, your screenshots go straight to the “Screenshots” folder in your “Pictures” folder. It’s different from the old way of taking screenshots.
Why Gateway Laptops Are the Perfect Choice
As you explore the various ways to screenshot on your Gateway laptop, you might wonder what sets Gateway apart from other brands. Gateway laptops have gained renown for their reliability, performance, and affordability. Gateway laptops are really good. They have nice designs, fast processors, and bright screens. They are great for working and playing on the computer.
- Reliability: Gateway laptops Build to last, ensuring that you can rely on them for years to come.
- Performance: Equipped with the latest hardware and software, Gateway laptops deliver seamless performance for all your computing needs.
- Affordability: Gateway offers high-quality laptops at competitive prices, making them accessible to everyone.
FAQS
How do you take a screenshot on a Gateway laptop?
To take a screenshot on a Gateway laptop, press the “Print Screen” key. Then, paste it into a program like Paint and save it.
What is the easiest screenshot tool?
The easiest screenshot tool is the Snipping Tool, which comes built-in with Windows. It lets you capture specific parts of your screen with just a few clicks.
How do I take a screenshot on my Gateway Windows 11?
To take a screenshot on your Gateway Windows 11 laptop, simply press the Windows key + Shift + S.
What are the 3 ways to take a screenshot in Windows 10?
Sure! You can take a screenshot in Windows 10 by pressing the “Print Screen” key, using the Snipping Tool, or using keyboard shortcuts like Windows Key + PrtScn.
Why does PrtSc not work?
The PrtSc key may not work due to issues with the keyboard, system settings, or software conflicts. You can try troubleshooting by checking your keyboard connection, updating your drivers, or using alternative methods like the Snipping Tool.
Conclusion:
In conclusion, capturing screenshots on a Gateway laptop is easy and straightforward. By using simple keyboard shortcuts, you can quickly take snapshots of your screen. Just press the “PrtScn” or “Print Screen” key to capture the entire screen, or use “Alt + PrtScn” to capture only the active window. Afterwards, you can paste the screenshot into an image editor or document by pressing “Ctrl + V”. Remember, mastering these shortcuts can save you time and effort whenever you need to capture and share what’s on your screen. So, get started and enjoy effortlessly taking screenshots on your Gateway laptop!